
Scrounge Cheese Board
- Sep 1, 2019
- 4 min read
Updated: Aug 24, 2021
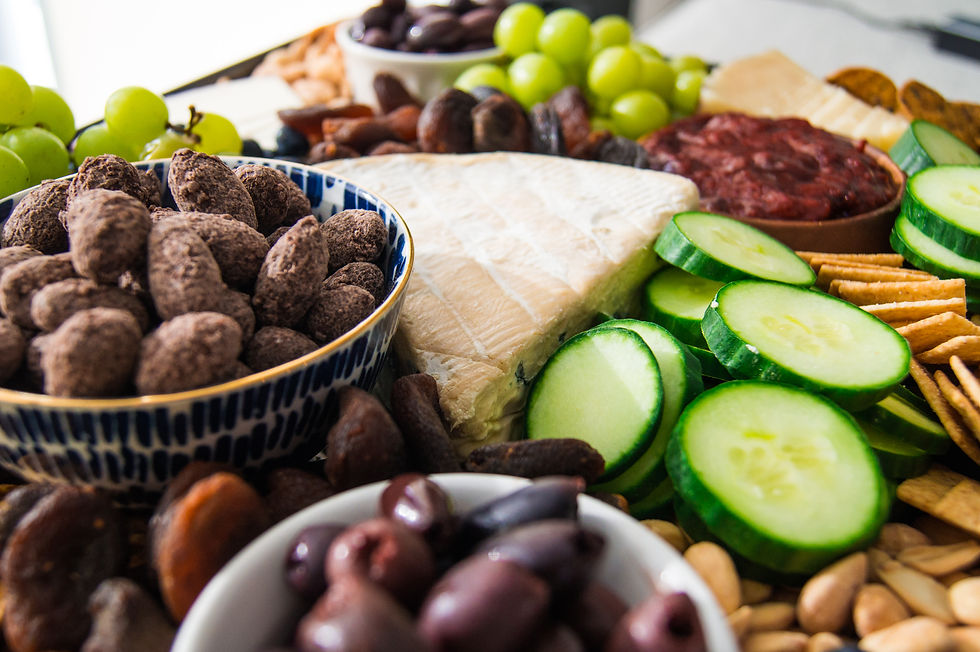
To be honest, I've never done a cheese board like this until I was asked to create one for an event. Even though it's scary when you're asked to do something you've never done, it's also the most rewarding because challenging yourself is the only way you grow. I said yes and created the cheese board you see pictured below. I have to say, I'm very proud of how it turned out, and it was a hit at the Broad Shoulders event that I created it for!
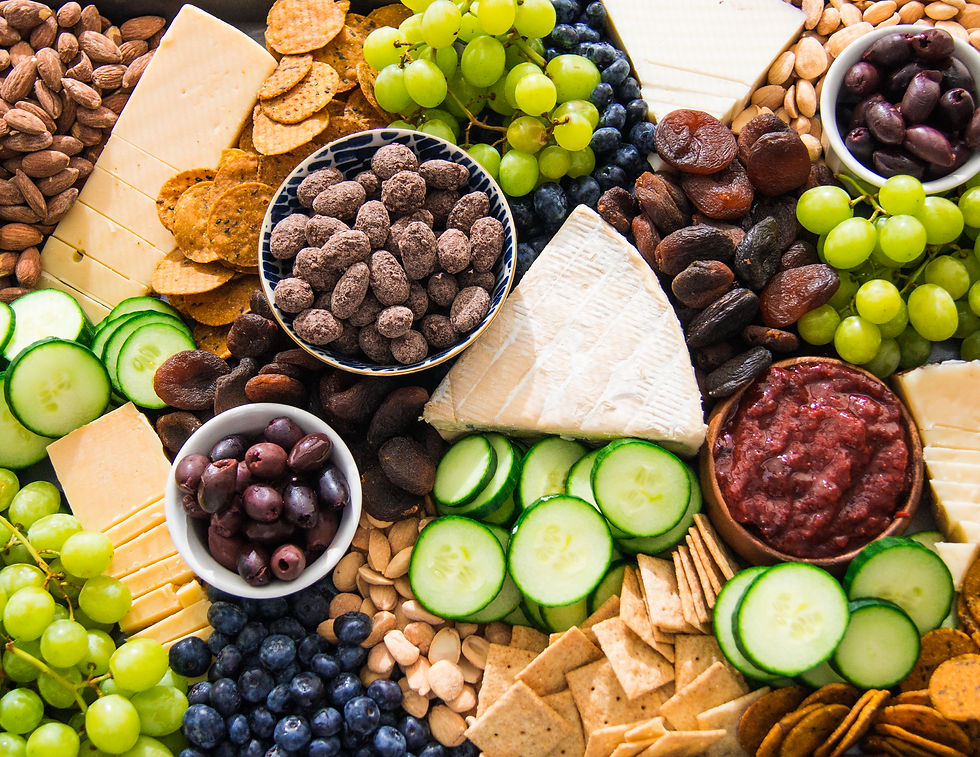
The "Scroungiest" part of this cheese board is that I used a large baking sheet pan to serve it on. It worked so well! The ledges around the sides of the pan allowed me to pile all of the food high without it falling off the board, and it was super easy to transport from my home to the event location. I was serving 30-35 people so this baking sheet pan was extra large, but if your creating this for a few friends or family use whatever sized baking sheet you have at home.
BONUS: I'm SO excited to share that I'm creating a digital version of my sketched out cheese board , which will be coming soon! Please stayed tuned for that, I know you will all get a ton of use out of it for the fall and winter and all of the holiday gatherings you'll be hosting or attending!
The Scrounge:
If you don't have these exact ingredients, Scrounge with the things you have at home and you may end up creating something even better!
If you don't have grapes or blueberries, use strawberries, raspberries, blackberries or apples
If you don't have almonds, use cashews, walnuts or pistachios
If you don't have dried apricots, use dried figs or dried mangos
If you don't have a cucumber, use carrots, sugar snap peas or peppers
If you don't have dark chocolate almonds, use dark chocolate bark, dark chocolate chips or dark chocolate covered cherries
Ingredients:
Cheese Board
1 Baking sheet pan
4 Bowls - I used 3 different styles of bowls, my two olive bowls were the same, but the different styles gives the board a dynamic aesthetic
5 different types of cheeses. I used: manchego, red wine soaked goat, cambozola, monteau Alpine, cheddar. I recommend a few hard cheeses and at least one soft cheese, which was the cambozola for mine.
2 Fresh fruits - I used grapes and blueberries
1 Dried fruit - I used apricots
1 Vegetable - I used cucumbers
2 Types of Nuts - I used dry roasted almonds and Marcona almonds
2 Types of Crackers - I used GF sweet potato crackers and GF almond flour crackers
1 Type of Olives - I used kalamata olives
1 Dark Chocolate - I used dark chocolate covered almonds with sea salt (optional)
Homemade Strawberry Jam - make this the day before so it has time to cool in the fridge (optional but recommended!) feel free to use store bought jam but this is delicious and a healthier option and it's fun to tell people it's homemade :)
Strawberry Jam Ingredients (thanks to Tasty as Fit for this Recipe, I love her!):
4 c. Strawberries (one carton) rinsed and hulled (this video will show you how to hull a strawberry, I like using the straw method)
1/4 c. honey
3 tbsp lemon juice
1/4 tsp sea salt
Preparation:
Figure out which bowls you want to use
Take a piece of parchment paper and put it on top of your baking sheet pan so that it fills the size of the pan
Sketch out where you want the different foods to go, including where the bowls will go. I used colored pencils because it made it more fun :) and so I could use a different color for each food. This serves as your map for when you place the food on the board so that everything is spread out evenly. I will be creating a digital version of my sketch soon you can skip this step and simply print out my map to follow!
Rinse all fruit
Slice your vegetable
Remove the parchment paper from the baking sheet pan and then begin placing the foods on the pan according to the map. I didn't leave parchment paper underneath because I thought once people started cutting into the cheese the paper would start moving around, however, if you want to leave the paper under the food feel free to do so.
When placing the blocks of cheese on the board, I like to cut a few of the pieces to start off each block (excluding any soft cheeses)
Strawberry Jam:
Once hulled, add your strawberries to a small to medium sized pot. Mash them with a potato masher or the bottom of a cup to release some of their natural juices. Add your honey and heat over medium high.
Bring the mix to a high simmer, stirring every now and then, until the mixture really thickens. This whole process took about 35-45 minutes.
Once It has really thickened, turn off burner and stir in your lemon juice and sea salt. Allow the jam to completely cool and then transfer to an airtight container. It will continue to thicken in fridge!
Comments